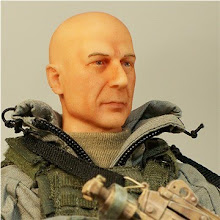
Awesome 1/6 captured ThunderboltTuesday, February 10, 2009
Saturday, January 17, 2009
Great Texas GI Joe Show
I can't wait!!!!
I'm working on two or three figures for the custom figure contest. I'm not gonna tell quite yet what I'm bringing. I have one ready, time will tell as to how many more I'll bring.
I will be doing three seminaars for the show:
Mold making/ casting headsculpts- body mods
Painting headsculpts
Weathering uniforms
These will be alot of fun. Hope to see alot of you there.
Let me know if you check my blog when you see me.
http://greattexasgijoeshow.com/index.html
Tuesday, October 14, 2008
Newly finished head sculpts


This is a "before and after" shot- The HS on the right is fresh from the mold, left is a pastel tinted HS.

Two finished sculpts
Monday, May 26, 2008
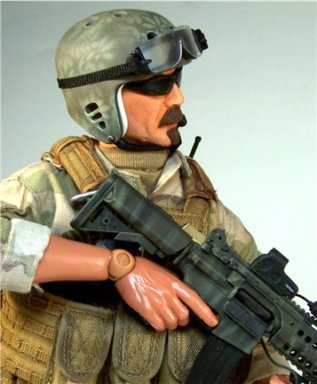
New BBI SWAT gear bash
I purchased the BBI "Chuck Morris" set, and was blown away. The set is great. Although, as is normal, I had to bash rather than just build. I discarded the G3.5 body for a Barrack Sargeant body. I needed a "SWAT" looking head, so I rummaged through my "box-o-heads" and found DML's Ted. I did give the body armor a bit of weathering, and added a Toy Soldier pouch to the front, and a BBI grenade pouch to the back.
The weapon was changed out for an M4. I used a bashed one using Hot Toys, BBI, and Toy Soldier parts. The boots are BBI Acadias cut down to resemble 6" Danner Patrols.
Monday, April 7, 2008
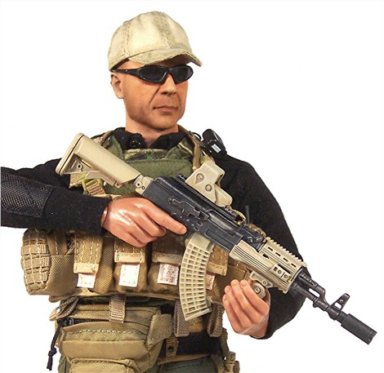
New PMC bash
Threw together some stuff I picked up at the Show a couple of weeks ago. Totally repainted the AKM (a masking nightmare!), and cast 8 resin magazines for the chest rig.
Sunday, March 23, 2008
Weathering tutorial
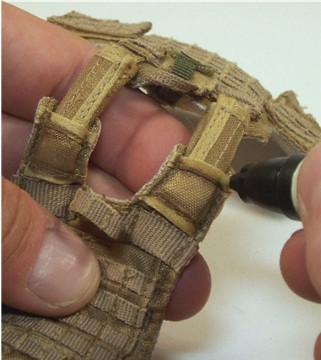
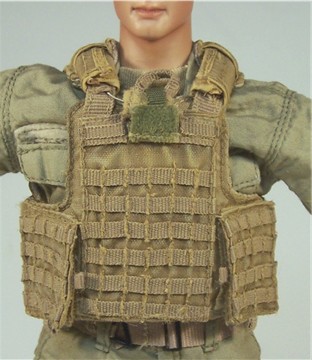
If you’re like me, you’ve found the Toy Soldier CIRAS body armor is very bulky. With a few easy mods it fits and looks better. I found a great way to weather body armor and other cloth uniform parts, that is very simple, yet effective. It incorporates the use of Prismacolor art markers to shade, and dry brushing for highlights.
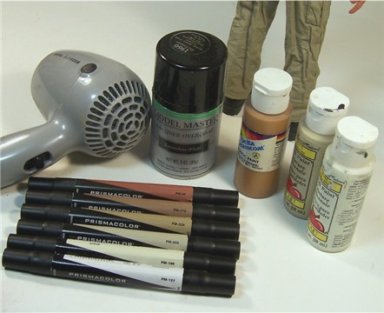
The supplies to do this modification:
Hair dryer
Prismacolor markers- various shades of brown/ tan
Acrylic art paint- shades to match project. Here I’m using ochre, misty white, and sand
Dullcoat
Front/ Back views with no weathering
The first step is to open up the CIRAS and remove the white foam pieces and the plastic plates.
Holding the plate with pliers, warm it with the hair dryer. It will become “soft” and easy to shape.
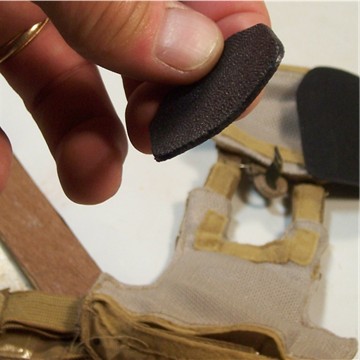
Give it a rounded shape. This is more realistic than the flat stock shape.
Re-insert only the plates. The foam is what gives the CIRAS the unwanted bulkiness.
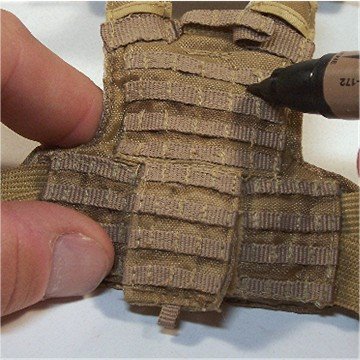
Using a light umber, add shading to all seam lines and below webbing. Don’t panic, the next step will fade the shading so it’s not so blocky.
Using a wheat, parchment, or colorless pen, go over the areas again. Pull the color farther away from the seams to fade the color a bit.
This show how the color fades.
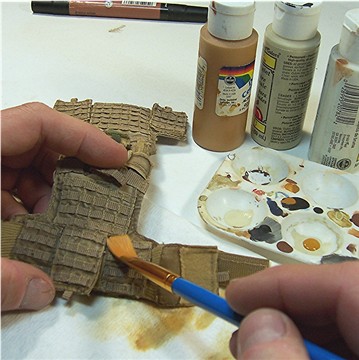
The next step is to drybrush the piece.
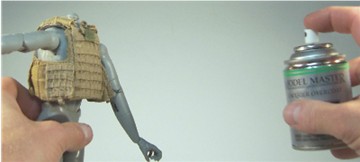
Dullcoat is sprayed onto the entire piece to remove the sheen of the nylon cloth.
Front/ Back views after weathering.
Front view- side by side
Back view- side by side
Tags: Tutorial
Tuesday, March 18, 2008
Custom figure entries
Better photos of my figures from the Great texas GI Joe Show.
SEAL VBSS
SEAL CQB
British WW2 Tanker
USMC India Co. 3BN. 4REG