If you’re like me, you’ve found the Toy Soldier CIRAS body armor is very bulky. With a few easy mods it fits and looks better. I found a great way to weather body armor and other cloth uniform parts, that is very simple, yet effective. It incorporates the use of Prismacolor art markers to shade, and dry brushing for highlights.
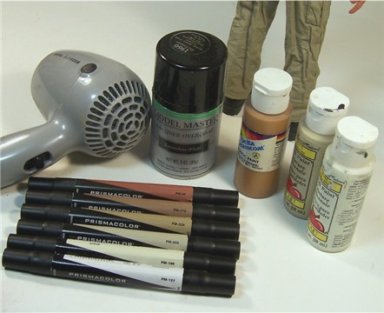
The supplies to do this modification:
Hair dryer
Prismacolor markers- various shades of brown/ tan
Acrylic art paint- shades to match project. Here I’m using ochre, misty white, and sand
Dullcoat
Front/ Back views with no weathering
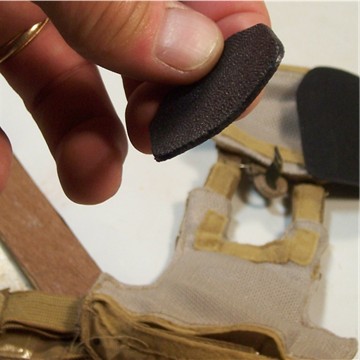
The first step is to open up the CIRAS and remove the white foam pieces and the plastic plates.
Holding the plate with pliers, warm it with the hair dryer. It will become “soft” and easy to shape.
Give it a rounded shape. This is more realistic than the flat stock shape.
Re-insert only the plates. The foam is what gives the CIRAS the unwanted bulkiness.
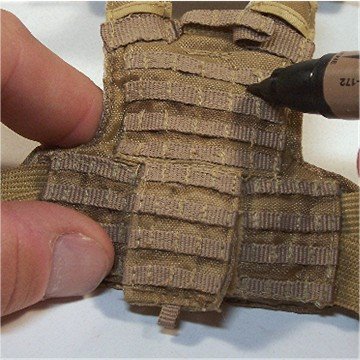
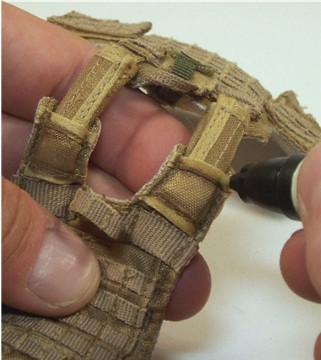
Using a light umber, add shading to all seam lines and below webbing. Don’t panic, the next step will fade the shading so it’s not so blocky.
Using a wheat, parchment, or colorless pen, go over the areas again. Pull the color farther away from the seams to fade the color a bit.
This show how the color fades.
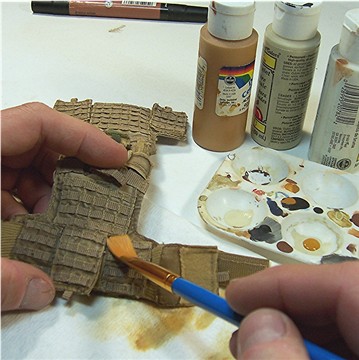
The next step is to drybrush the piece.
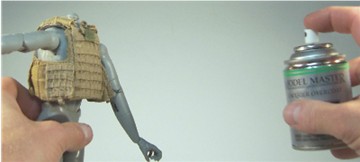
Dullcoat is sprayed onto the entire piece to remove the sheen of the nylon cloth.
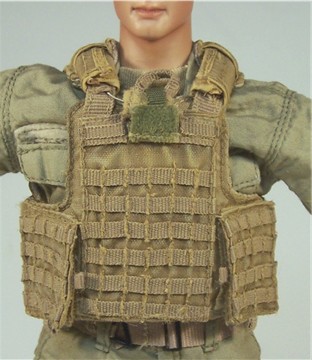
Front/ Back views after weathering.
Front view- side by side
Back view- side by side









1 comment:
i love it so much,..
very creative..!
Post a Comment